Snapshots in Photoshop
What designer hasn’t had to view a couple different options for a document?
Stop saving multiple versions of the same file to compare, or flirting dangerously with your history pane, only to loose a history state due to too much editing. Photoshop’s snapshot tool allows you to compare various states of the same document while in session. Just remember that once you close the document, or the application crashes (I’m looking at you Windows users), you’ll lose your snapshots and revert to the last saved state.
This comes in handy for viewing different color pallets, fonts, or positions all with the click of a button. Here’s how to use it.
STEP 1
Open a new document and do something to it. For this example, I typed “History State #1” in big, red text.

STEP 2
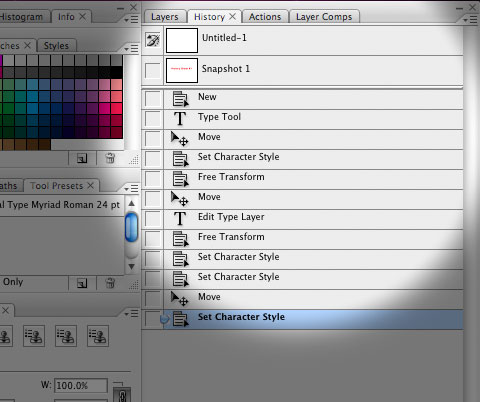
Create a new snapshot by clicking the little camera icon on the bottom-right of the History panel.

You’ve now created your first snapshot:
STEP 3
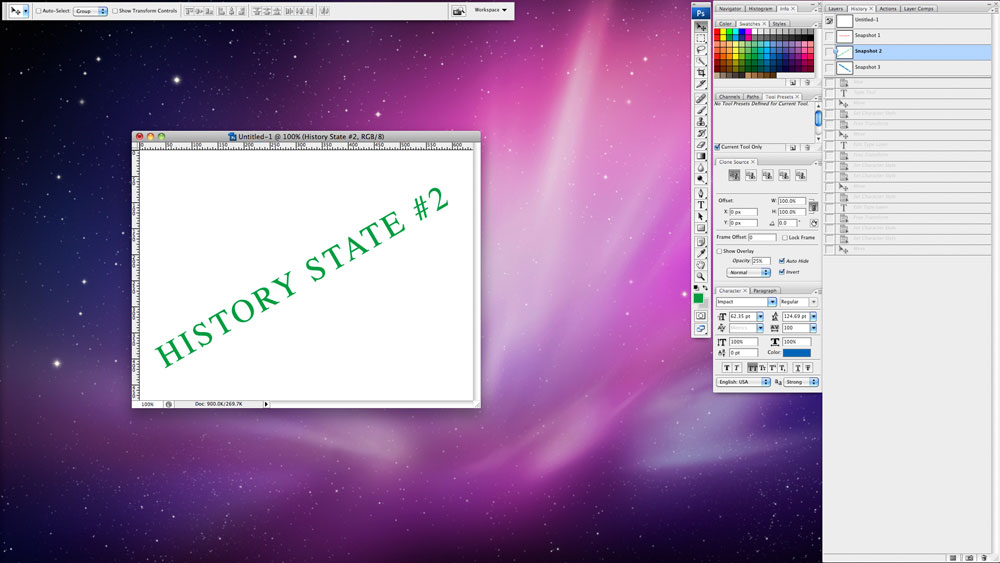
Make another change to the document. In this example, I changed the font, text color to green, and tilted the text.
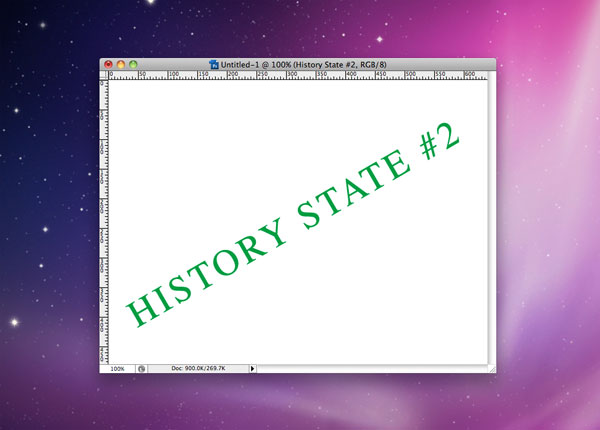
The second history state
STEP 4
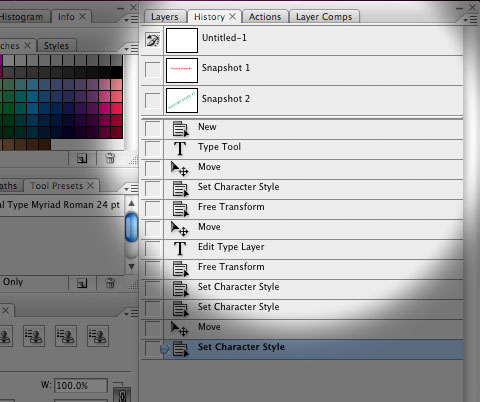
Click the camera icon again to take another snapshot. You now have your second snapshot:
STEP 5
Make yet another change to the document. You can see the changes I made in this third example.
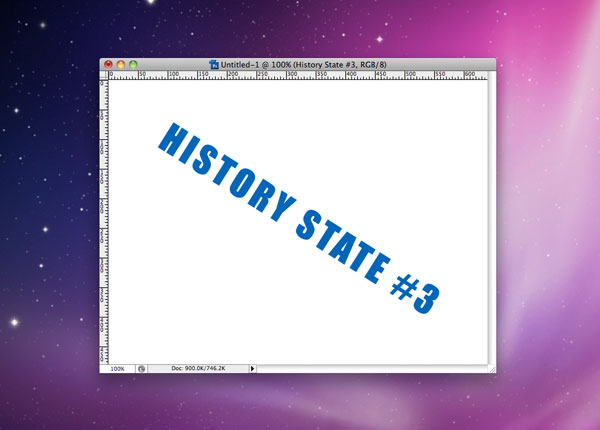
The third history state
STEP 6
Let’s say I’ve decided to keep the document as it was in second snapshot, so I’m going to click “Snapshot 2” (hint: you can rename the snapshots by double clicking the title in the History panel).
BONUS STEP
If you want to create a new document from the current history state you’re in, just click the icon to the left of the camera:

Create New Document from Current State